Wall Oven Installation: What to Plan
On this page
A wall oven installation needs three things settled before the cabinets are built: an opening cut to the exact model's dimensions, a base that carries its weight, and a dedicated 240-volt circuit sized to its spec sheet. Each maker publishes those numbers in its installation guide, and they differ from brand to brand, so the oven gets chosen before the oven cabinet is drawn.
This guide works through real examples from Wolf, Thermador, Miele, and Fisher & Paykel. Treat them as worked examples and follow the guide for the model you order. Your licensed electrician and local building department have the final word on wiring. Wiring a new 240-volt circuit is a licensed electrician's job, and the makers' guides assume one does it.
Start with the exact model
Get the installation guide for the exact model number, not the family. The guide gives the opening, the base support, the circuit, and where the electrical supply can sit. Wolf notes that the location of the electrical supply "may require additional cabinet depth," and Miele says the same when supplies sit behind the appliance. Both suggest an adjacent cabinet for the connection.
If the ovens are going in the wall because the range is coming out, our cooktops, rangetops, and pro ranges we carry page shows the cooking side of the plan.
Cutout dimensions: four 30-inch examples
Every 30-inch oven here asks for a 28 1/2-inch-wide opening, but the heights do not match.
- Wolf M Series single oven: 28 1/2 inches wide, 27 1/2 high, 23 1/4 deep (standard installation).
- Thermador ME301WS single oven: 28 1/2 wide, 27 high, 23 1/2 deep. Thermador's design guide gives the height as a range, 27 to 28 5/8 inches.
- Miele H 7880 BP: a minimum niche of 28 1/2 wide and 28 1/4 high, 24 deep.
- Fisher & Paykel OB30S single ovens: a minimum cavity of 28 1/2 wide and 26 13/16 high. Depth is 22 5/8 for a proud installation and 24 3/16 for flush.
That spread of about an inch and a half in height is why a cabinet maker cannot build a generic 30-inch oven box and fit any brand later.
Single or double
A double oven roughly doubles the opening height and adds weight and amperage. Wolf's M Series double needs a 28 1/2 by 49 7/8-inch opening, Thermador's ME302WS lists a 51-inch-high cutout, and Fisher & Paykel's OB30D asks for a cavity at least 48 3/16 inches high.
The circuit grows too. Wolf moves from a 30-amp circuit on its single oven to 50 amps on the double. Thermador lists 30 amps for single ovens and 40 for doubles. Fisher & Paykel's planning guide lists a 20-amp service for its 30-inch Professional single oven (OB30SPPTX1) and 40 amps for the double (OB30DPPTX1).
Standard or flush inset
Standard installation lets the oven's trim overlap the cabinet face. Wolf lists the M Series trim overlap at 1 inch on top and 11/16 inch on each side, so the face frame has to leave room for it.
Flush inset sets the oven front level with the cabinet doors, and the opening gets larger and more exact. Wolf's flush inset opening for the M Series single is 30 1/8 inches wide, 28 3/4 high, and 24 deep, with at least a 1/8-inch reveal on every side, and "each corner of the opening must be exactly 90°." Thermador's flush cutout for its 30-inch single ovens is 29 1/8 by 30 by 24 1/2 inches. Fisher & Paykel asks for a 1 5/8-inch recess in the cabinetry and swaps in a long trim at the base. Miele publishes separate flush inset and proud drawings for the H 7880 BP.
Decide flush or standard before the cabinet maker builds the face frame. Wolf also asks you to finish the edges of the opening, because they show when the door is open.
Cabinet support and weight
Wall ovens are heavy, and the shelf under them carries all of it. Wolf asks for a base that supports at least 250 pounds for its M Series single and 400 for the double. Thermador lists 232 pounds for single ovens and 429 for doubles, and recommends 2-by-4s running front to back, flush with the bottom and side of the opening, secured to the floor or cabinet and level.
For scale, Thermador lists its ME301WS single at 167 pounds and its ME302WS double at 291. Miele lists the H 7880 BP at 181 pounds. Fisher & Paykel lists its Professional single at 168 pounds unpackaged and the double at 309, and its installation guide warns: "Do not attempt to lift this product unassisted."
Electrical: dedicated 240-volt circuits
Every oven in this guide runs on 240 volts (208 is allowed) and wants its own circuit.
- Wolf M Series: a 30-amp dedicated circuit for the single and 50 for the double, wired through a supplied conduit. Wolf notes that "performance may be compromised if the electrical supply is less than 240 volts."
- Thermador: circuit breakers of 30 amps for single ovens, 40 for doubles, 20 for a single steam and convection oven, and 16 for a speed oven. Combination ovens with a steam, speed, or microwave unit list 40 or 50 amps.
- Miele H 7880 BP: a 30-amp fuse rating, with a NEMA 14-30 plug, so it needs a receptacle rather than a hardwired connection. Miele also shows a 4 by 28-inch cutout in the bottom of the cabinet for the power cord and ventilation.
- Fisher & Paykel OB30S and OB30D: hardwired to a junction box. The installer checklist asks that the isolating switch stay easy to reach after installation and that the cable reach at least 1.5 meters (about 5 feet) in front of the opening.
Add up the circuits for the whole oven wall and have a licensed electrician confirm the panel can carry them.
Stacks: warming drawers, steam ovens, and speed ovens
Most 30-inch oven walls combine units, and each one brings its own requirements.
- Warming drawer: Wolf's needs a 120-volt, 15-amp dedicated circuit and a base that supports 200 pounds.
- Speed oven: Wolf's needs a 240/208-volt, 15-amp dedicated circuit with a NEMA 6-20R receptacle, and Wolf does not recommend a GFCI on it. Installed flush above or below a Wolf E Series oven, it needs a 1/4-inch reveal.
- Convection steam oven: Wolf's needs a 20-amp, 240-volt circuit and a base rated for 150 pounds. Plumbed models need a cold water line with a shut-off and a drain with a high loop, and Wolf warns: "The unit needs minerals in the water to operate. Do not connect to a filtered water supply."
- Factory combinations: Thermador builds a 30-inch triple combination with a speed oven and warming drawer, listing a 429-pound base support and a 40 or 50-amp breaker. Fisher & Paykel's planning guide shows 30-inch companions (combination steam oven, speed oven, warming drawer, coffee maker, vacuum seal drawer) for stacked, row, and grid layouts.
Two Wolf M Series singles can sit side by side in one 58 1/2-inch-wide opening with a dual installation kit. Wolf warns that "any cosmetic or structural material placed between the ovens will impede airflow."
Door swing, handles, and the space in front
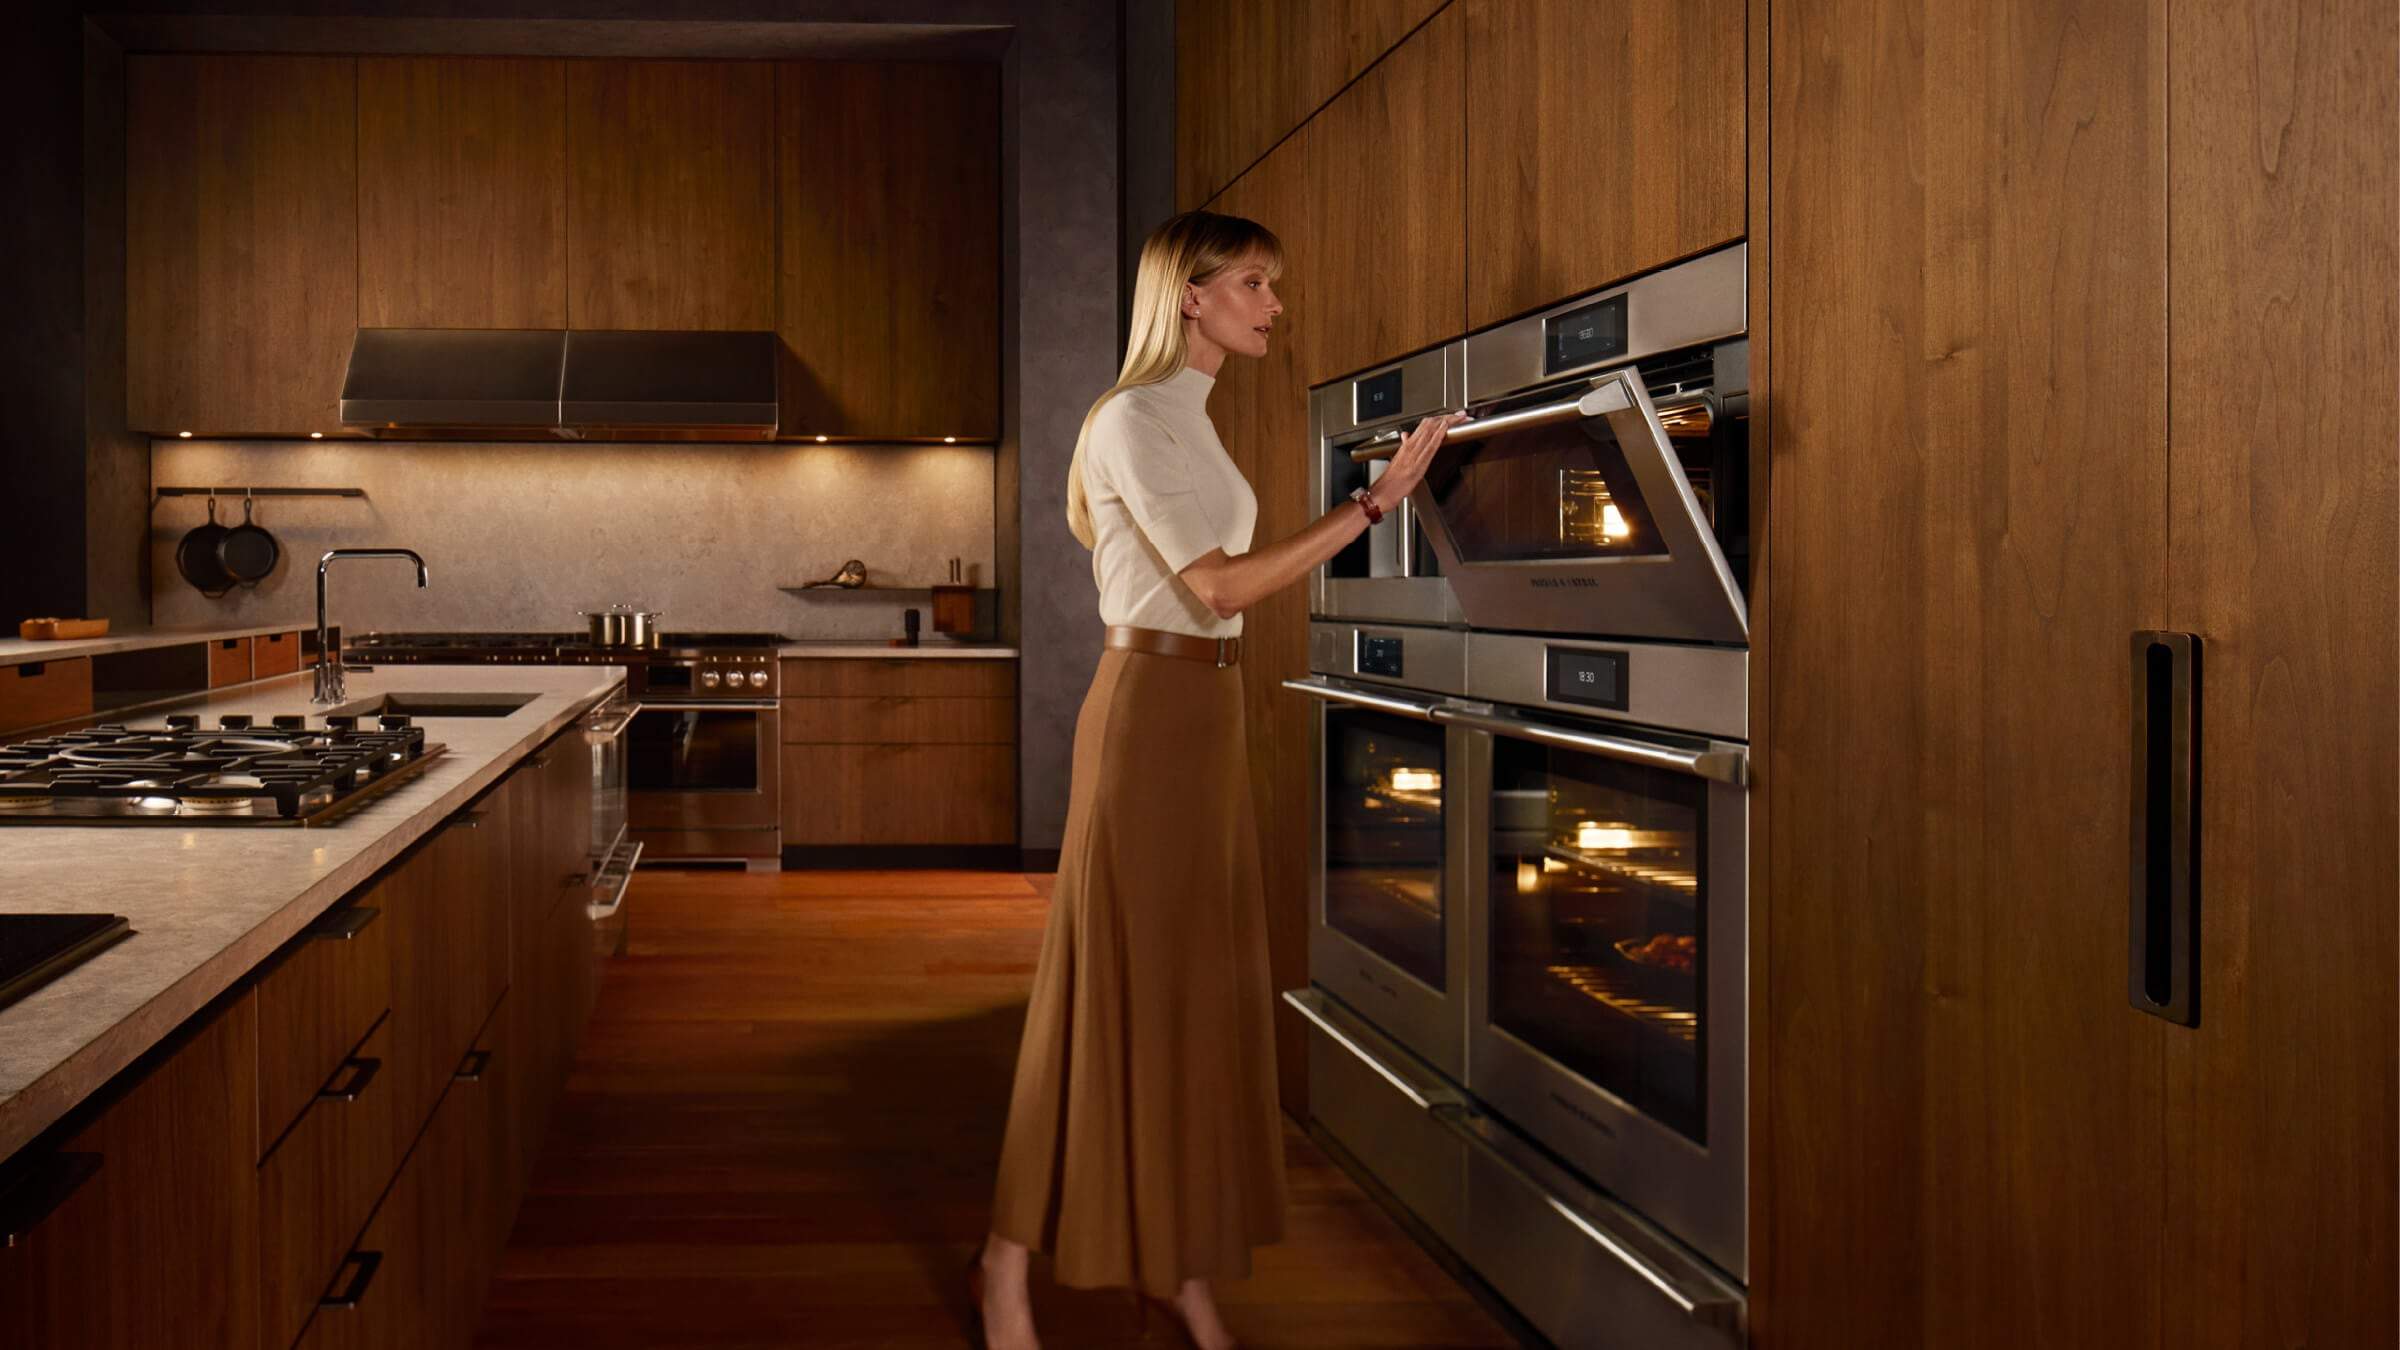
Plan the room the open door takes. Fisher & Paykel lists its single oven door at 21 5/8 inches deep when open, and its checklist asks that "the oven door(s) can open fully without obstruction." Thermador asks for at least 10 inches beside a side-hinged oven so the door can open, and calls it good practice to leave at least 1/4 inch between the oven and an adjacent wall or cabinet door at the end of a run. Handles stand off the door, so check the handle depth on the spec sheet against nearby drawers and an island across the aisle.
Height matters as much as width. Fisher & Paykel's checklist asks the installer to confirm the height from the floor suits the person cooking.
Under a cooktop
Some 30-inch ovens can go under the counter. Wolf requires at least 1/4 inch between an M Series oven and a cooktop installed above it, and Fisher & Paykel tells you to leave the space the cooktop maker requires. If you are still choosing the cooking surface, see deciding between a rangetop and a cooktop. If that cooktop is gas, run the gas supply and spacing checks for the cooktop above before the cabinet is built.
Before the oven arrives
- Opening built to the guide's dimensions, square and level, with the edges finished.
- Base support in place and rated for the weight.
- Circuit installed and inspected, with the junction box or receptacle where the guide shows it.
- Water and drain roughed in for a plumbed steam oven.
Fisher & Paykel says not to seal the oven into the cabinetry with silicone or glue, and not to install it behind a decorative door. For what happens after you order, see what happens once your order is placed.
Questions to ask in the showroom
- What opening does this exact model need for standard and for flush inset?
- What weight does the base have to carry?
- What circuit does it need, and is it hardwired or plug-in?
- Can it go under a cooktop, and how much space does it need there?
- Which companion units stack with it, and what does each one need?
- Does the door open down or to the side, and how far does it reach?
Planning an oven wall near Sacramento
Bring your cabinet drawings and a photo of your electrical panel to the Roseville showroom, and we can pull the installation guides for the ovens on your list. If the same remodel includes refrigeration, our rough-in planning for a built-in refrigerator covers that opening. You can also start with wall ovens for Sacramento-area kitchens.
Updated